

The first bumper I made was more difficult, as it was more like a box, with a top, side and bottom, which meant double the piping, more fabric, more stuffing and more headache. This time I decided that I would just do a flat bumper with piping that went all the way around making it much faster and easier to manage.
The ties are a bit time consuming, because you need 22-24 ties, and it involves quiet a bit of ironing and sewing.
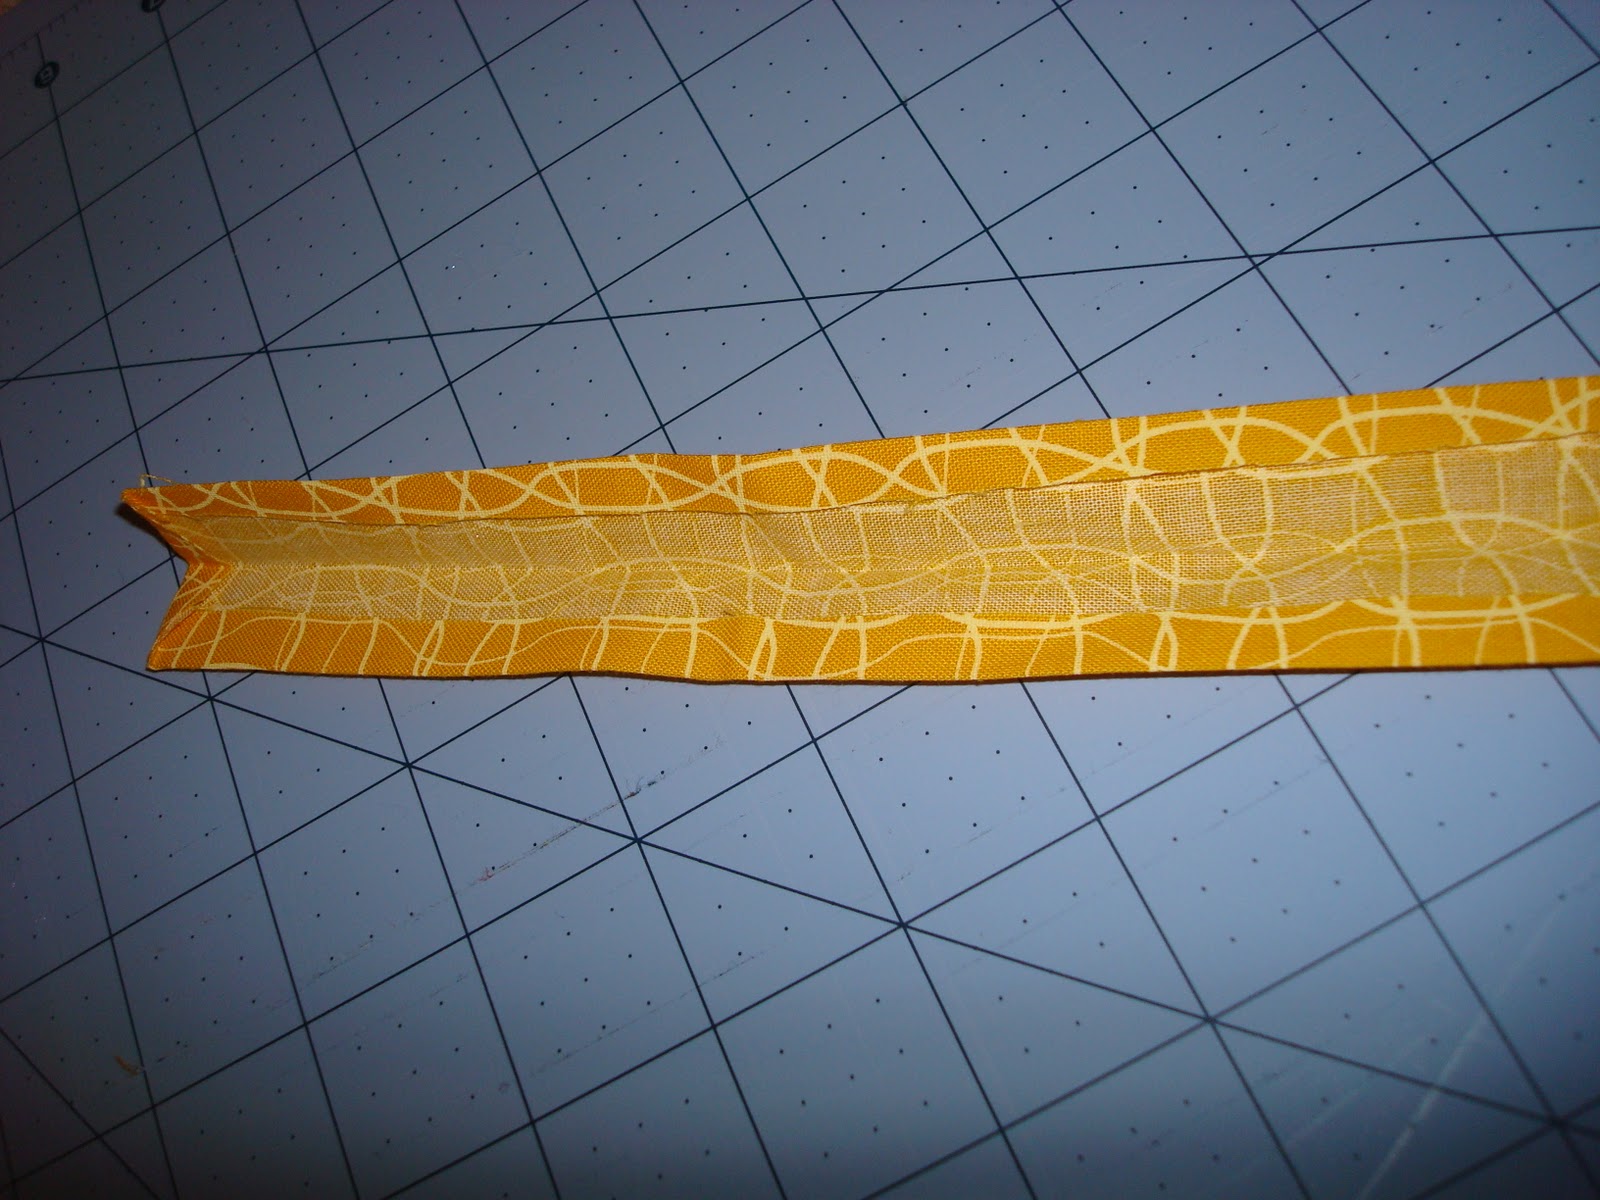
I cut 22 strips @ 2.5" x 20", pressed 1/4" to wrong side on all
edges of tie pieces. Then folded them in half and pressed again, and
finished each tie with an edge stitch.


You will also need just over 9 yards of chord for inside the piping.
Before you assemble your piping, you will want to sew your strips together.
- TIP ** Cut the end of your strips on angle to sew them together. I was taught in a sewing class that by sewing strips together on an angle instead of a flat edge, the seam will be less obvious to the eye, and look more like one strip then several pieced together.
 |
| You can see the ties along the back of the crib. 1 in the corner, middle, seam, middle, corner. |
(I did 6 pieces of the plaid, and 6 pieces of the navy.)
Then sew 6 pieces together for the front and 6 pieces for the back.
Use a 3/8" seam allowance.
Next pin down the piping, selecting the fabric that you want as the front side of your bumper, and starting on what will be the side of your bumper. Pin down your piping around the entire piece of fabric (pin piping down so fabric edge is on top).
Next you will want to decided where you want your tie strips. (I placed ties at each of the six seams, and then added ties in between 4 of the fabric segments for the front and back of crib (see caption above.).
Fold tie strips in half and pin the folded edge underneath the piping and on top of the fabric. Sew together.
Then on the wrong side of your fabrics you will want to sew the remaining six pieces on to the bumper, leaving one edge open. (basically sewing your bumper together inside out.)
 Okay we are almost done!! And it is time to announce my star bumper moment.... I decided to add a zipper to the end of the bumper! Woohoo genius!! Seriously, this one move made the bumper sooooo much easier, because once you sew the zipper on, you are done sewing and ready to stuff!
Buy a standard 10 inch zipper. Sew it on while your bumper is still inside out, use your zipper foot.
Now you are ready to pull your bumper right side out and start stuffing.
This time instead of batting I decided to use foam. I got a pack of Fairfield Nu-foam at Joann's that is made specifically for crib bumpers. The foam was great! It comes in six foam pieces which makes it so easy to stuff in, and holds the bumper up straight.
Stuff in your foam, zip up the side, and your bumper is crib ready!!!


No comments:
Post a Comment